
This lesson will help students understand the never-ending scientific process of Earth’s Water Cycle through the development of a zine (self-published booklet) focusing on the topic.

Overview
This activity educates students about the Water Cycle, the constant circulation of water around Earth. NOAA's Joint Polar Satellite System (JPSS), a collaborative effort between NOAA and NASA, monitors the movement of water throughout Earth’s surface, oceans, and atmosphere in order to forecast local and regional weather. The data from these measurements provide the nation with accurate weather forecasts, hurricane warnings, and much more! This lesson will help students understand the never-ending scientific process of Earth’s Water Cycle through the development of a zine focusing on the topic.
Water in nature travels around Earth in what we call the Water Cycle. Below, see the steps of the cycle from start to finish.
The Water Cycle
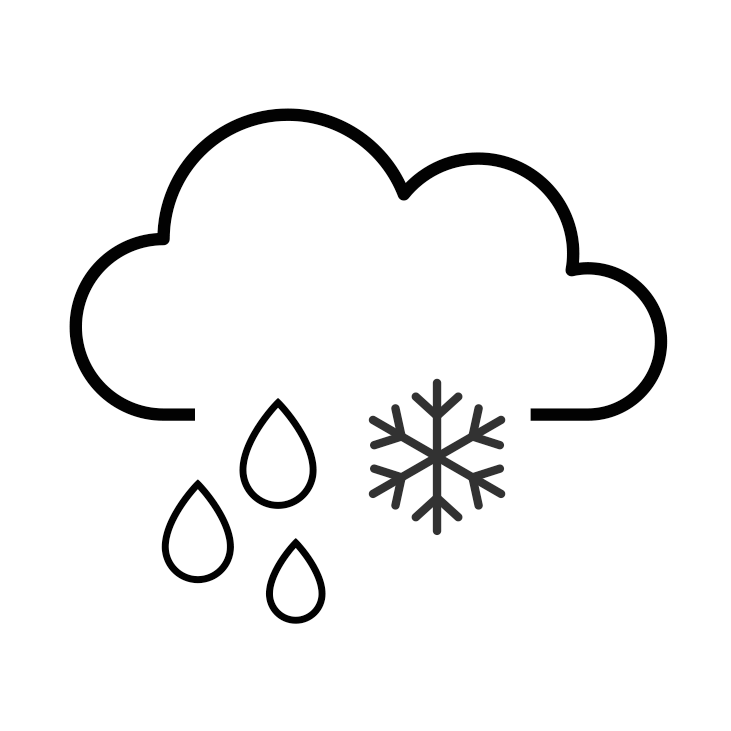
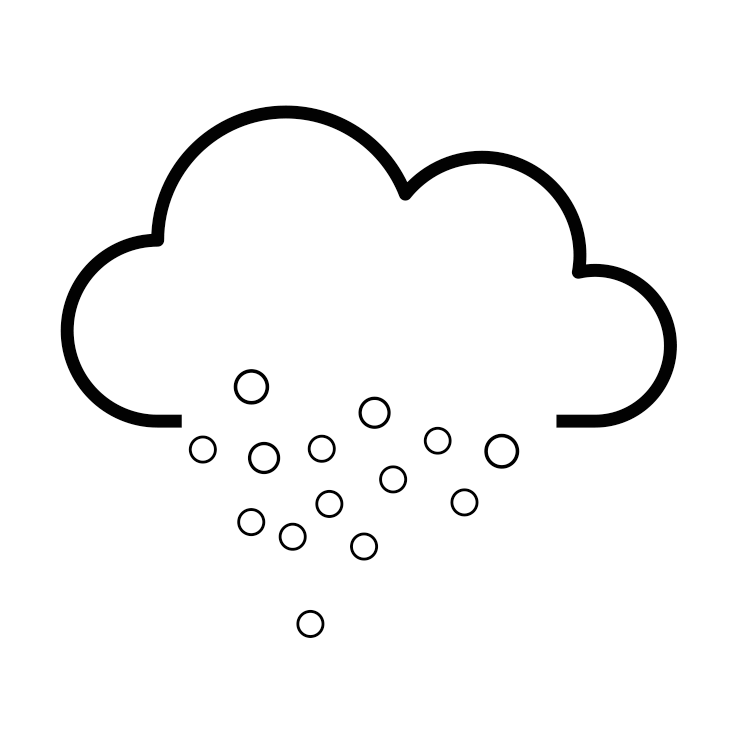
| 1 | Precipitation Clouds release water back to Earth as rain or snow. | |
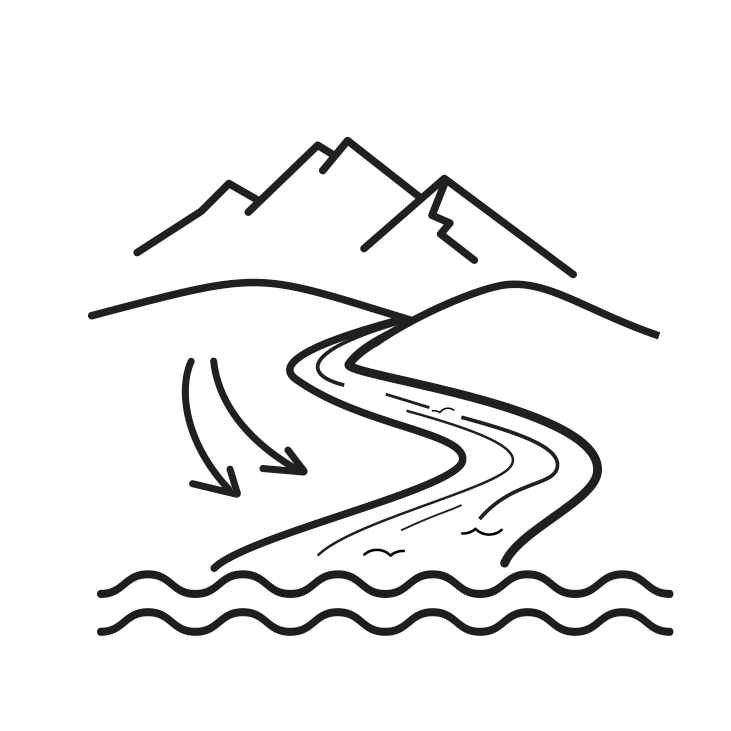
| 2 | Runoff Water travels over the Earth’s surface and goes back into oceans, rivers, and lakes. | |
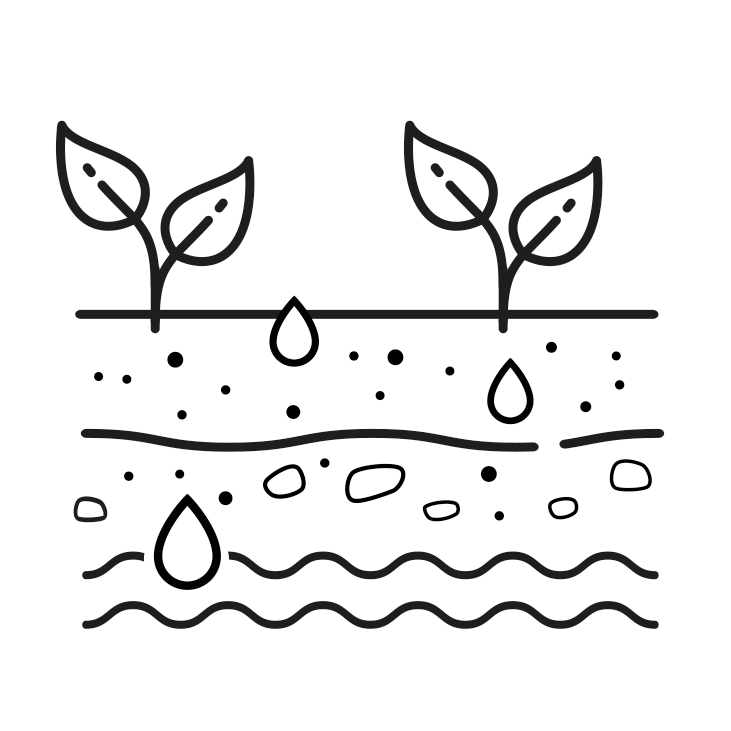
| 3 | Infiltration Water absorbs into the ground. | |
| 4 | Evapotranspiration Water from oceans, rivers, lakes, soil, and moisture from plants turns into vapor and travels into the atmosphere. | |
| 5 | Condensation Water vapor cools and forms clouds. |

Did you know? Animals are also involved in the water cycle in the way that they ingest and secrete water.

Background
What is a zine?
A zine (short for maga-”zine”) are small booklets you can make and draw yourself. They can contain different kinds of images and text. They are a way to educate readers on a topic in a fun and creative way, where important information is condensed onto a short series of pages. Zines can be a variety of page lengths, but if made from an 8.5 x 11 inch piece of paper, they can be folded into a booklet to make a total of 8 pages.
Objectives
From this lesson, students should learn how to:
- Identify how to navigate the water cycle
- Research information about the water cycle
- Understand how NOAA’s JPSS satellites relate to the water cycle
- Translate scientific information to a zine science communication format
- Use artistic creativity to enhance science communication
Interested to learn even more?
Did you know that 145 million people (⅓ of the total population) in the United States get their tap water from groundwater, and another 43 million people get their water from private groundwater wells? As part of modern life, we also transport water from one place to another across the globe through the process of using water for farms and factories. Have your students look up the “water footprint” on their own or discuss it together in class to explore how this impacts the water cycle.
The JPSS seed paper activity discusses more about how water is used to make products, like paper, that people use in our everyday life. Learn more about groundwater and pollution through other activities on our education page.
Carry the water cycle with you!
Let’s get creative! When making an 8-page zine, use the available pages to illustrate the steps of the water cycle from start to finish. Try to include a fact or two on each page to describe what's happening at each step:
- Precipitation
- Runoff
- Infiltration
- Evapotranspiration
- Condensation
Make sure to include a cover page that presents the title of your zine. The back page could say something like “And the cycle repeats!” Or “Go back to the beginning!” as a way to indicate that the cycle constantly repeats itself. In order to fill all 8-pages and you have room, ask yourself if there’s anything else that can help you remember the water cycle that you want to include in your booklet. You can even share fun water facts!
Materials
- Paper: Common sizes include 8.5 x 11 inches (letter size) or 11 x 17 inches (tabloid size).
- Scissors
- Crayons/Markers/Colored Pencils
- Pencil or pen
- Draw your own or print out these illustrations.
How to make a zine:
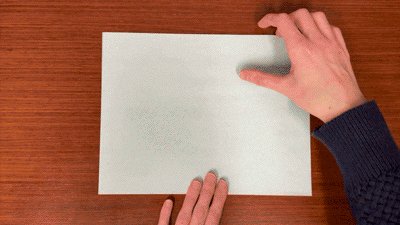
- Fold a piece of paper in half lengthwise.
2. Fold it in half, top down.
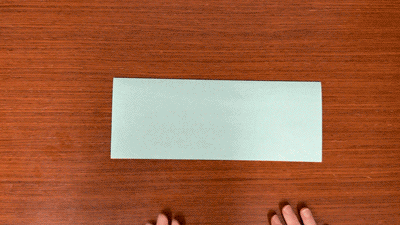
3. Fold that again in half.

The photos show the paper being rotated 90 degrees to the right before being folded.
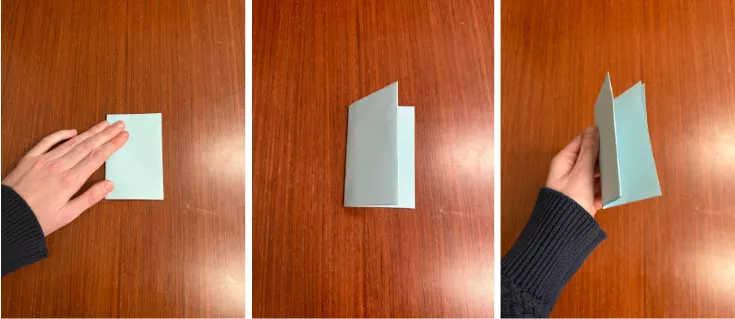
4. Unfold the paper completely to reveal eight equal sections.
5. Fold the paper in half so that it shows four sections.

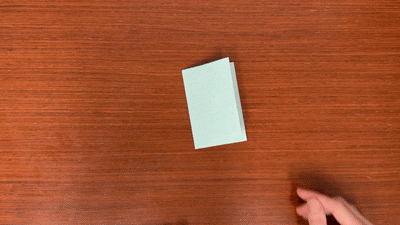
6. Make a cut from the center fold line, starting at the folded edge, and stopping at the middle point of the paper.
On the printable PDFs, there is a dotted line with a diamond-shaped symbol on each end. Cut along the dotted line up to the symbol.

7. Unfold the paper completely, then refold it along the original lengthwise fold, making sure the cut expands to form a diamond shape in the center of the fold.
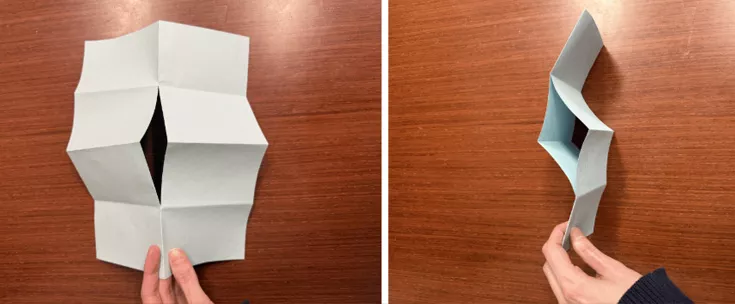
8. Bring the two opposite inside corners of the diamond directly together and press down to flatten the paper.

9. Then fold the paper in half for it to become an 8-page zine.


10. Decorate and add content to each page as desired.