
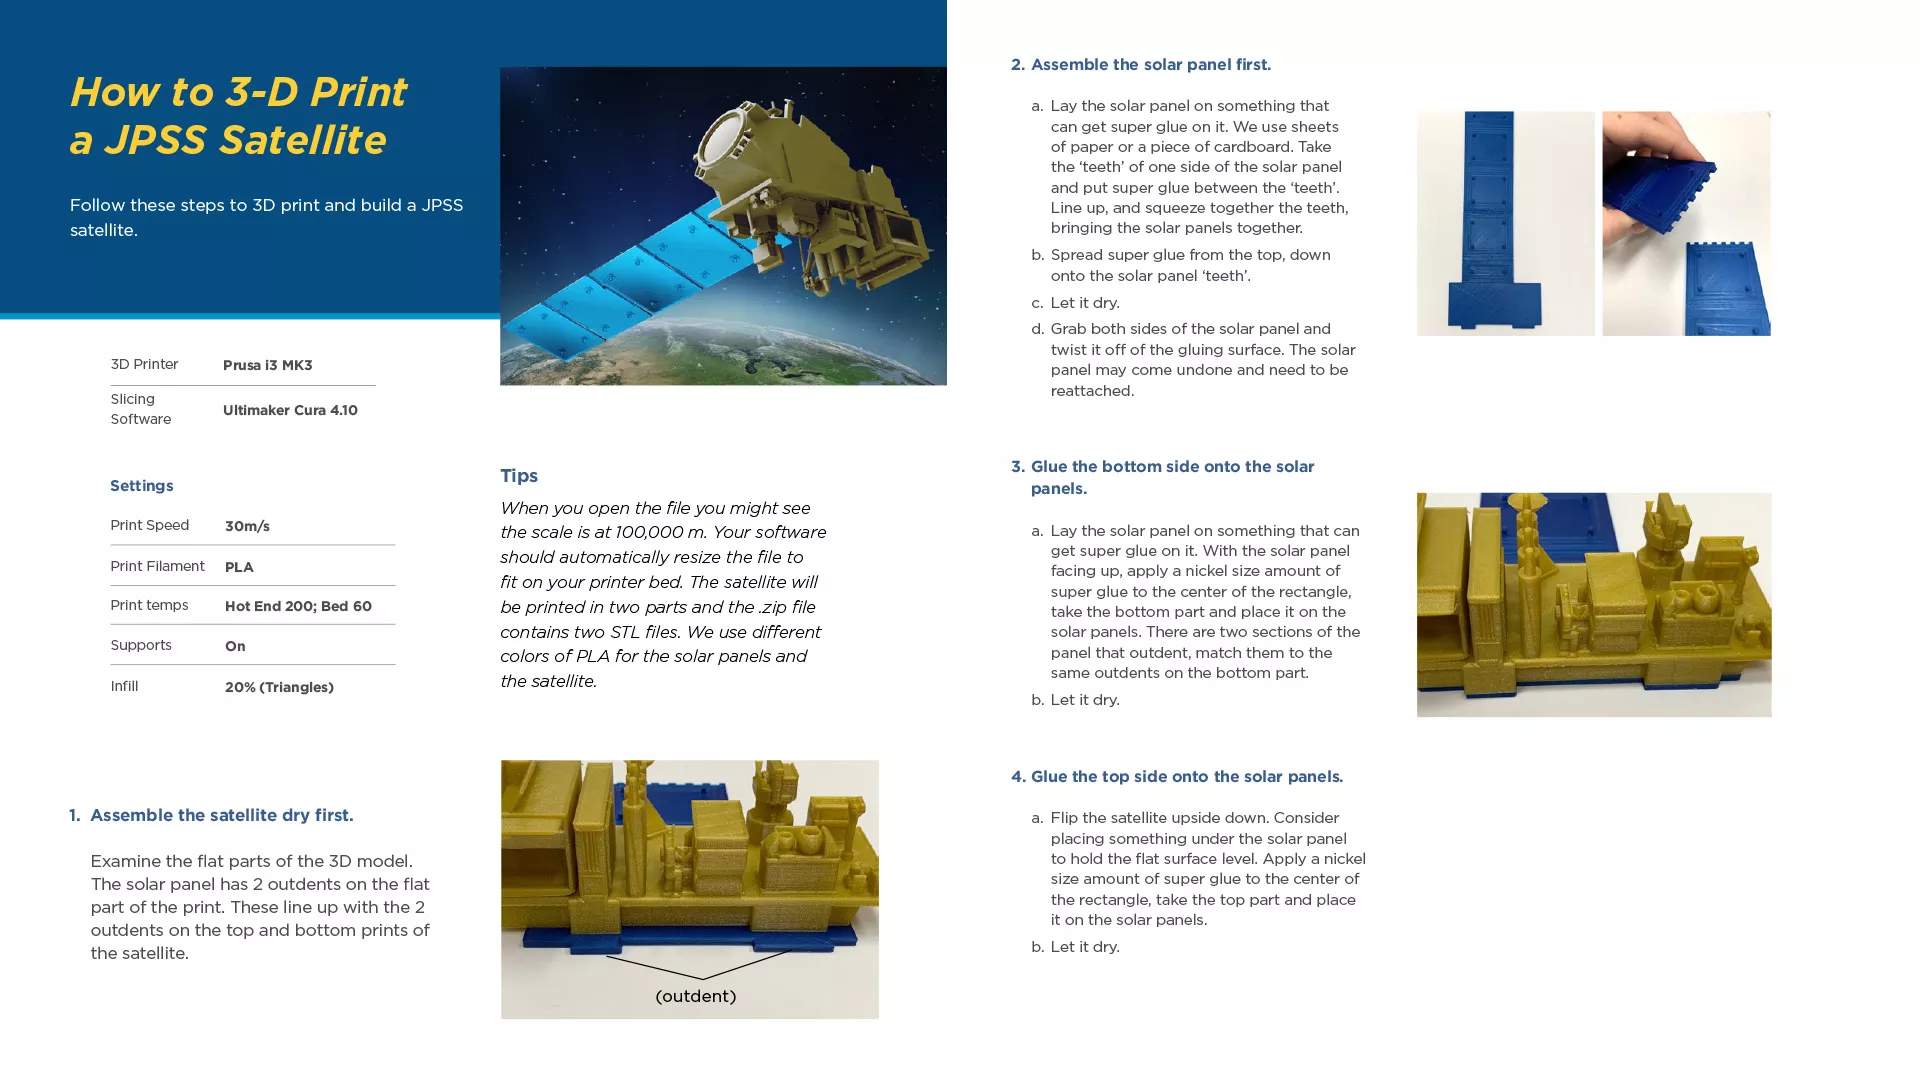
Follow these steps to 3D print and build a JPSS satellite.
| 3D Printer | Prusa i3 MK3 |
| Slicing Software | Ultimaker Cura 4.10 |
| Settings | |
|---|---|
| Print Speed | 30m/s |
| Print Filament | PLA |
| Print temps | Hot End 200; Bed 60 |
| Supports | On |
| Infill | 20% (Triangles) |
Tips
When you open the file you might see the scale is at 100,000 m. Your software should automatically resize the file to fit on your printer bed. The satellite will be printed in two parts and the .zip file contains two STL files. We use different colors of PLA for the solar panels and the satellite.
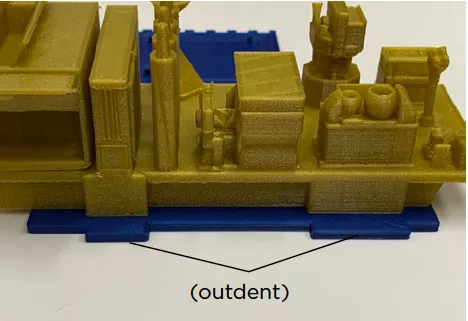
1. Assemble the satellite dry first.
Examine the flat parts of the 3D model. The solar panel has 2 outdents on the flat part of the print. These line up with the 2 outdents on the top and bottom prints of the satellite.
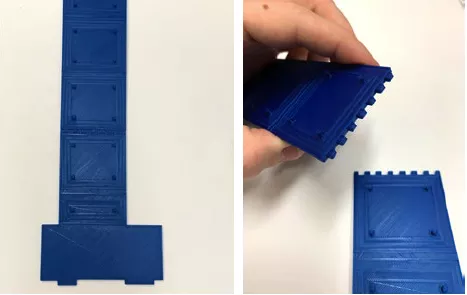
2. Glue the bottom side onto the solar panels.
-
Lay the solar panel on something that can get super glue on it. With the solar panel facing up, apply a nickel size amount of super glue to the center of the rectangle, take the bottom part and place it on the solar panels. There are two sections of the panel that outdent, match them to the same outdents on the bottom part.
-
Let it dry.
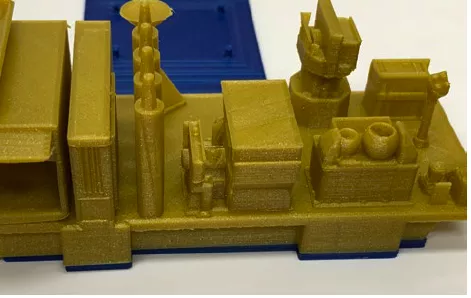
3. Glue the bottom side onto the solar panels.
-
Lay the solar panel on something that can get super glue on it. With the solar panel facing up, apply a nickel size amount of super glue to the center of the rectangle, take the bottom part and place it on the solar panels. There are two sections of the panel that outdent, match them to the same outdents on the bottom part.
-
Let it dry.
4. Glue the top side onto the solar panels.
- Flip the satellite upside down. Consider placing something under the solar panel to hold the flat surface level. Apply a nickel size amount of super glue to the center of the rectangle, take the top part and place it on the solar panels.
-
Let it dry.